DIY Modern IKEA Bed Hack


When we were putting finishing touches on the remodel of our master bedroom, we realized it was time for us to get a new bed. We had been using the same wooden sleigh bed I had since I was 16, and although it was beautiful, the bulkiness of our old bedroom furniture dwarfed the look of our new bedroom. So I started looking around online and kept coming back to the IKEA Gjora bed frame. I loved the simple lines and versatility and felt like it was ALMOST perfect, but I needed to figure out a way to make a headboard. I just didn't love the idea of setting pillows against a bare wall and knew it would look slick hacked.

So we did the headboard project and I posted it on Instagram, without a tutorial. And then I got a BUNCH of people asking me for instructions on how to make one themselves. So this is my attempt at remembering our exact steps. As always, feel free to reach out to me via the comments section about questions and we'll do our best to answer them.


MATERIALS

IKEA Gjora bed in a Queen along with the bed spring.

3/4 in. x 4 ft. x 8 ft. Birch plywood from Home Depot (make sure you look through their selection and pick one with a grain pattern that you like).

Matte water-based polyurethane 

Four (two per side) 90°4-hole Angle brackets - We used 2-hole angle brackets for ours, but I couldn't find the exact bracket we used online, but this is close. 


INSTRUCTIONS

The measurements will be different if you are using a full or queen sized bed, but we found 30" was a good height for our queen sized bed. We removed the horizontal bar from the tall side that came with the Gjora bed off to give it a more streamlined look.

Since this DIY is slightly more complex, I made the diagram below to show you how we determined the measurements for ours. Because the posts taper at the top, your bottom width and top width are going to be different. Measure the bottom width and the width 30" up from there.

Determine the height of your headboard (H). Measure the width between the posts at the bottom (W1) and then measure the width between the posts at your aforementioned height (W2). Cut your plywood into a rectangle that measures H” x W2”. Mark a midpoint (X) on the bottom of your piece. Divide W1 in half and measure out from your midpoint in both directions to mark the starting point of your cuts. Use a straight edge to mark a line between those points and the top corners (the dotted lines). Using a circular saw, carefully cut off the excess pieces.

Sand all the edges and finish the wood with a matte water-based poly. Lightly sand with a fine grit sandpaper between each coat. We used three coats and ended up polying the entire bed with the waterbased poly to give it a more uniform look.

To connect the board to the posts, use the angle brackets. It was helpful for us to bend them slightly to go around the curvature of the post. We used three on each side.
IKEA Gjora Bed Hack Headboard Diagram

Here's a photo of the back of the headboard with the brackets in use. You can see how the angle bracket has been bent slightly to fit nicely around the curve of the post. This can be done easily with plier and a little elbow grease.


And here's a close up of the finished headboard. You can see it has a really nice grain and compliments the light birch of the Gjora bed. Putting a water-based polyurethane over the entire bed and headboard really brought the entire look together and gave it more of a professional finish.


New House Update: Modern Kids Room + Nursery

Modern Kids Bedroom, Nursery and Playroom Decor

Oh my goodness, I really owe you a catch up. For the last year and a half, Rich and I had been looking to buy a house in a great neighborhood of Pittsburgh. The real estate in the area was super competitive and after months of looking at places above our price range and below our expectations, we started to feel discouraged. We knew we couldn't afford something completely "move-in ready," but we loved all the DIY's and renovations we did at our old house, so we confidently bought a big old fixer-upper. Let's call it the Yellow Brick House.

We thought the renos we wanted to do would take a couple months, so we planned on staying at my parents' house in the interim. I found out I was pregnant with our second daughter on the day we moved out of our old house. I had packed away all of my maternity clothing in a storage unit, thinking we'd be in our new house by the time I started showing...and you know where I'm going with this, right?

We had NO IDEA what we were getting ourselves into. Once we dove into demo, we realized we had/should do some pretty major overhauls. ALL of the ceilings were drop ceilings, wall-to-wall carpeting covered original hardwood floors (that were in rough shape), the plaster walls were covered in wallpaper and needed cracks repaired and glue removed. And the icing on the cake is that we needed to do almost all of the work ourselves in an effort to stay in budget.

Modern Kids Room Nursery Before and After

I'll go into more details later, but the short story is that nine months later and one WEEK before our second baby was due, we finally moved into the Yellow Brick House. We've been here a little over a month now and it's starting to feel like home. We still have so many finishing details and projects to tackle over the next few months/years, but we feel spoiled to be in such an awesome area and place.

This very first (yay!) Before and After is the girls' bedroom. It was (and is) the only room in our house that feels somewhat finished. We prioritized it so that Emerson, our toddler, would feel right at home when we moved in. And even though we have enough bedrooms for both kids to have separate rooms, we love the idea of the girls sharing a space. Marlowe won't be in the same room as her sis for awhile, but she has a crib ready and waiting for her. Here's what we've done in this space so far.

Organization Hack: Baskets

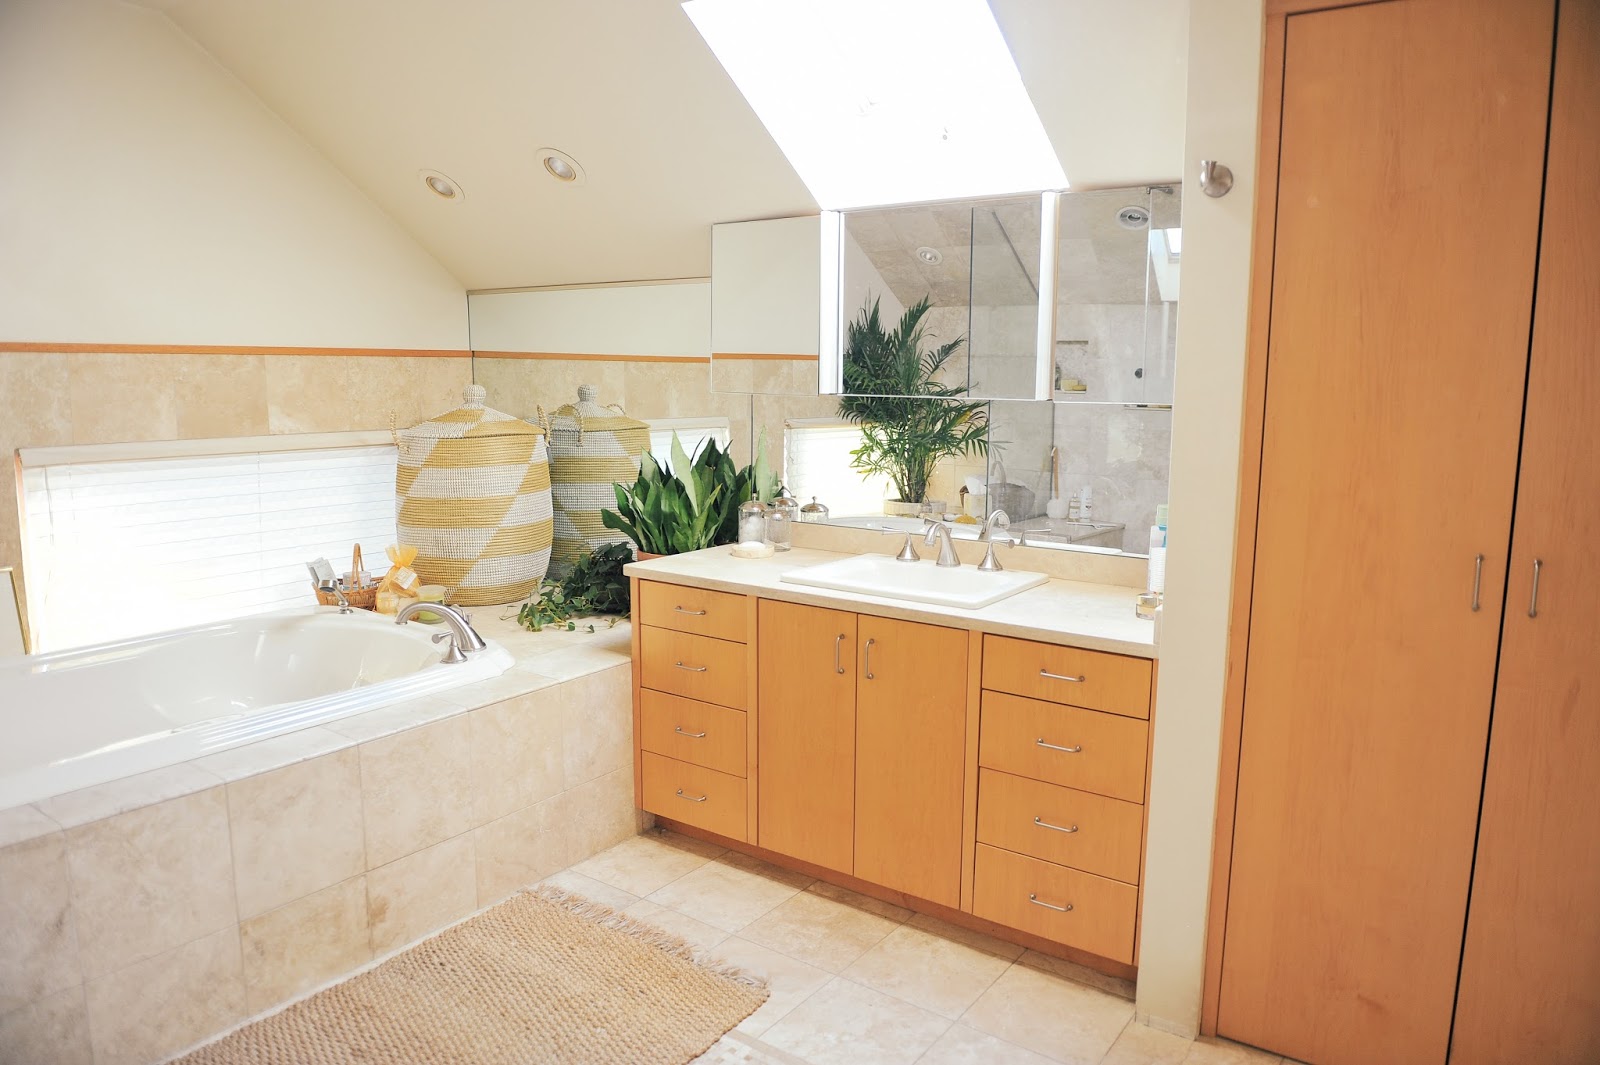
Modern Bathroom Organization Serena & Lily La Jolla Basket

Before we had a baby, everyone warned me about how much kids' STUFF we would accumulate. Clothes, toys, gear, feeding accessories, bath toys, towels, the list goes on. And like most everything parenting-related, I half-heartedly listened and assumed we may handle it differently. I hoped we would be the kind of parents that only bought beautifully handmade wooden Montessori toys that function more as nursery decor than anything else. And until Emerson was born, that was true.

But then, generous and amazing friends and family started passing down toys. Emmi was like a month to a flame. If it was big and bright and obnoxious-looking, she wanted it. At first I was hesitant and tried to keep things to a minimum. But truthfully, I realized early on that trying to control the "look" of the toys in our house was an issue my own, and felt more about achieving a false image of perfect parenting than . If my kids will play and build with a hundred brightly colored Legos for an hour, you better believe we'll have them. And they'll probably be strewn all over the floor.

Which brings me to the point of my rambling (I promise there's a point). In the chaos of life with children, I need life hacks. I need places to hide the craziness and feel a semblance of normalcy and organization in a short period of time. In come the amazingness that is baskets. I freaking love baskets. I have them in every room and they hold everything. Kids' toys, dog toys, blankets, stuffed animals, towels, you name it. It's the easiest way to keep things off the floor while maintaining a stylish and modern look in your house. So when Serena & Lily graciously sent me one of their Striped La Jolla baskets to review, I was ecstatic. It really added to my designer home decor.

Modern Bathroom Organization
Modern Bathroom Organization Serena & Lily La Jolla Basket

I've never owned a basket as large as this one (the basket pictured is the size Large in Natural) and I really like the size. It can easily fit several blankets or towels, pillows and/or toys. I have four full-sized bath towels in mine along with Emerson's bath toys and it is only about half full! The only downside regarding the size is that it needs to live in a large room or else it visually (and literally) take over the space. Emerson's nursery, for example, is pretty tiny and would not have space for it. If you have a medium or smaller sized room, I think this basket in the small or medium size would be perfect. I'm actually considering getting one for our bedroom.

The quality and color of the basket are perfect. It feels incredibly sturdy, unlike some of the belly baskets I have, and feels very well made. I was afraid the color would have a strong yellow hue, but it doesn't. It's a perfectly natural basket weave tan.

Modern Bathroom Organization Serena & Lily La Jolla Basket

Do you have any tips, tricks or life hacks for maintaining order with kids? I'm not naturally organized person, so I'm all ears!

I received product in exchange for this product review post. The views, ideas, and opinions expressed here are my own. Thank you for supporting the brands that support this blog!

DIY Modern Beaded Light Pull

DIY Modern Beaded Light Pull

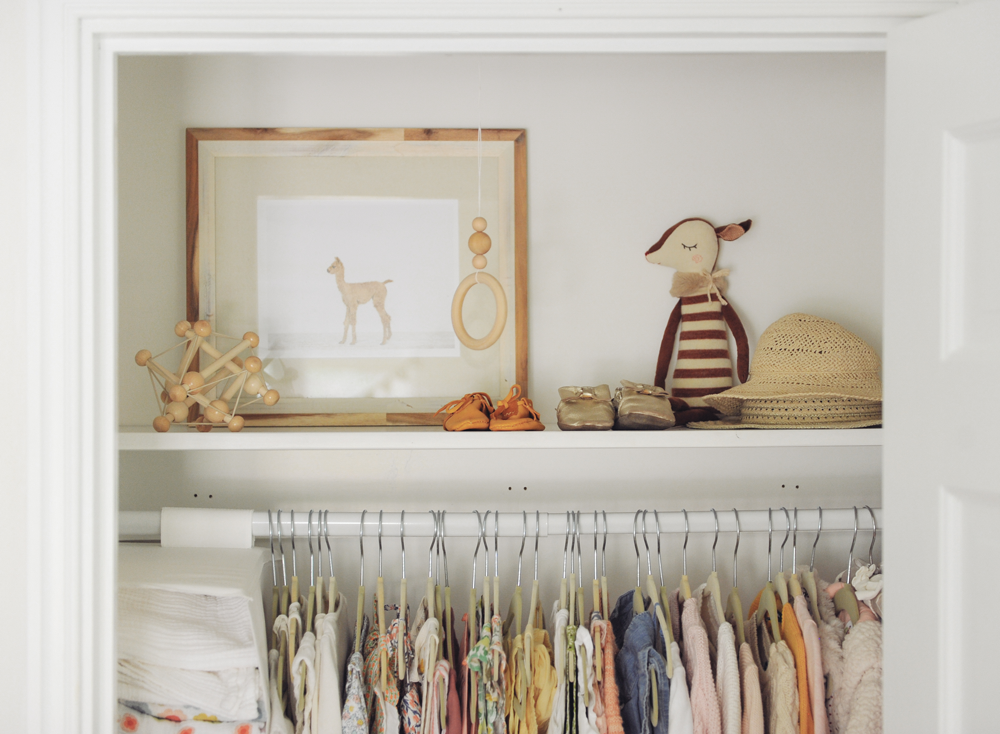
Every day, multiple times a day, I open Emerson's nursery closet to grab an outfit, shoes, or blankets. And each time, for over a YEAR, I would reach up to pull the cord for the closet light and feel a tinge of frustration trying to grab the pathetic string hanging from the bulb. I lived with that feeling for over a year now, sighing and just moving on. But this week, something changed. I was overcome with an organizing bug like never before. I've been tackling every house project on my mental wish list and feeling so great about it. Rich even asked if I could be pregnant (let's be clear, I'm not) because I was nesting so hard.

So anyways, this is one of those DIYs that no visitor in your house will ever notice, but that you (do this for YOU) will benefit from and LOVE on a daily basis. This will take, in all seriousness, about 2 minutes to make. I made three of them for my upstairs closets in less than 10 minutes and the "installation" took about 10 minutes as well.

DIY Modern Beaded Light Pull

Here's how to make this DIY Modern Beaded Light Pull...

DIY Modern Wood Cabinet Pulls

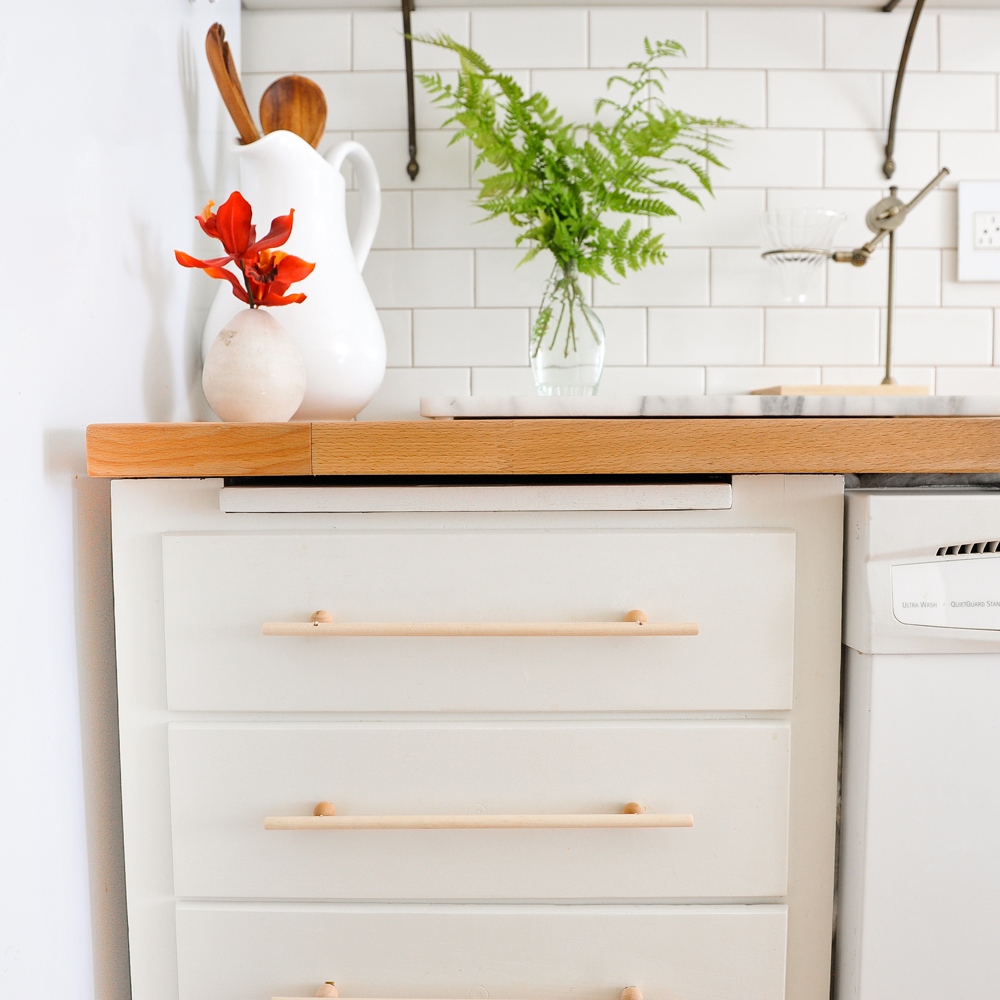
DIY Modern Wood Cabinet Pulls Hardware

When we renovated our kitchen a few years ago, we DIY'ed these brass cabinet pulls and we LOVED (still do love) them. They have held up so beautifully over the years and withstood tough handling. That said, as soon as Emerson started walking, I got really freaked out about the combination of the sharp edges of the brass hardware and our toddler's lack of walking skills. Every time she teetered in the kitchen, we would lunge to make sure her head didn't hit the hardware.

To bring peace of mind, I set out to find a really inexpensive solution to replace and baby-proof the hardware of our cabinets. I'm always a fan of light wood on white cabinets and one of my all-time favorite kitchens uses oversized wood knobs in the best way ever, so I used this as an opportunity to switch up the style a bit. Despite having no plan, I really dig the way they turned out. I think they have a cool Japanese modern feel and are so much safer for little ones than the brass hardware.

DIY Modern Wood Cabinet Pulls Hardware
DIY Modern Wood Cabinet Pulls
Click through to see the full DIY and directions below!