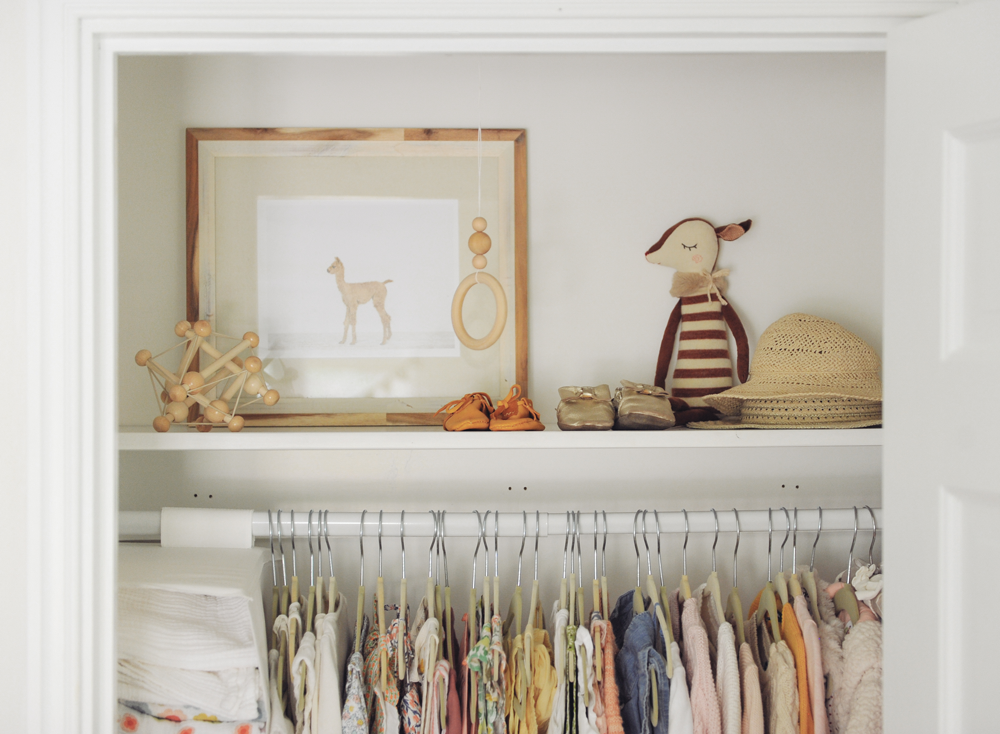
Every day, multiple times a day, I open Emerson's nursery closet to grab an outfit, shoes, or blankets. And each time, for over a YEAR, I would reach up to pull the cord for the closet light and feel a tinge of frustration trying to grab the pathetic string hanging from the bulb. I lived with that feeling for over a year now, sighing and just moving on. But this week, something changed. I was overcome with an organizing bug like never before. I've been tackling every house project on my mental wish list and feeling so great about it. Rich even asked if I could be pregnant (let's be clear, I'm not) because I was nesting so hard.
So anyways, this is one of those DIYs that no visitor in your house will ever notice, but that you (do this for YOU) will benefit from and LOVE on a daily basis. This will take, in all seriousness, about 2 minutes to make. I made three of them for my upstairs closets in less than 10 minutes and the "installation" took about 10 minutes as well.

Here's how to make this DIY Modern Beaded Light Pull...

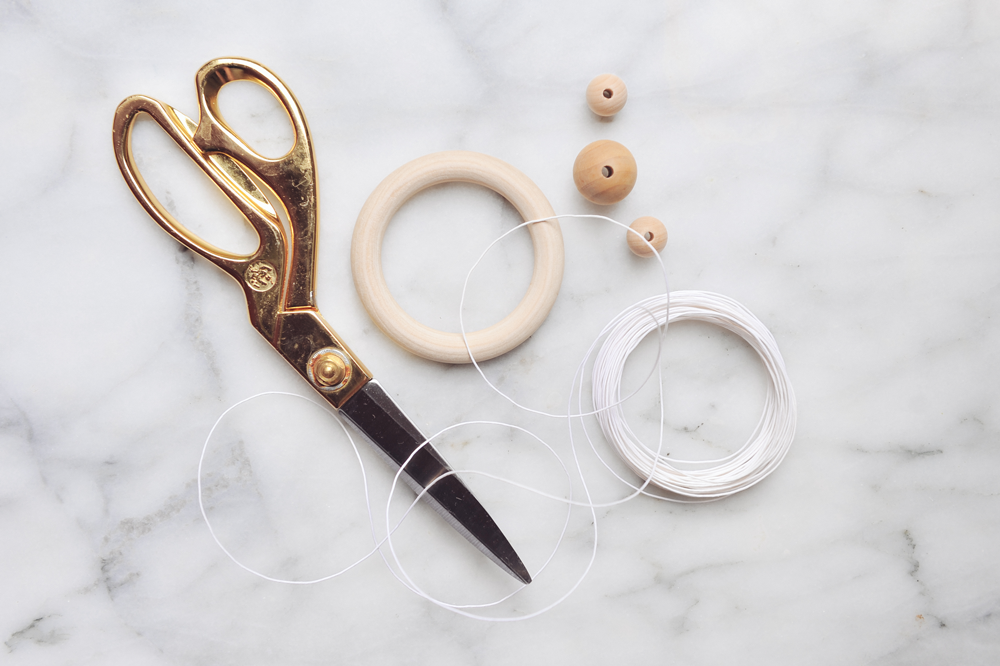
materials
directions
01. Every closet is different, so measure how long you want the light pull to come down and double that-- this is the length you'll cut the white string.
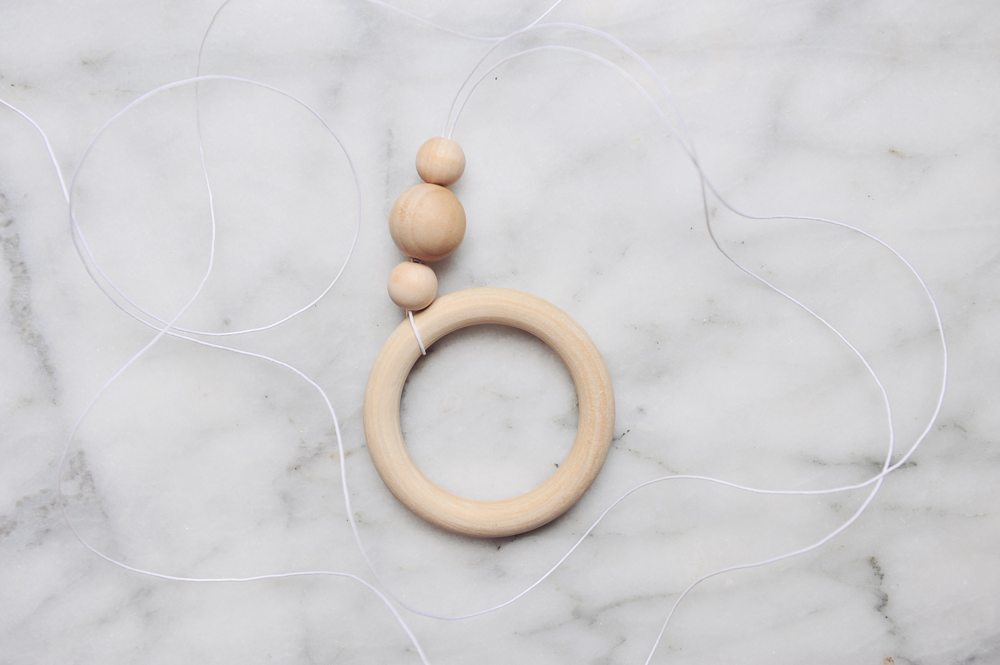
02. Loop the cut white string around the wooden circle and connect the ends. Basically, just pinch it with your fingers to make sure the string is even.
03. Slide the smaller round wood beads onto the strings.
04. I used 1/2" and 1" round wooden balls for this part, but you could use any size, shapes and variations. I've seen great looking hexagon wooden beads that would look awesome. I also love the idea of painting wooden beads to add some color and personality in your closet space
.
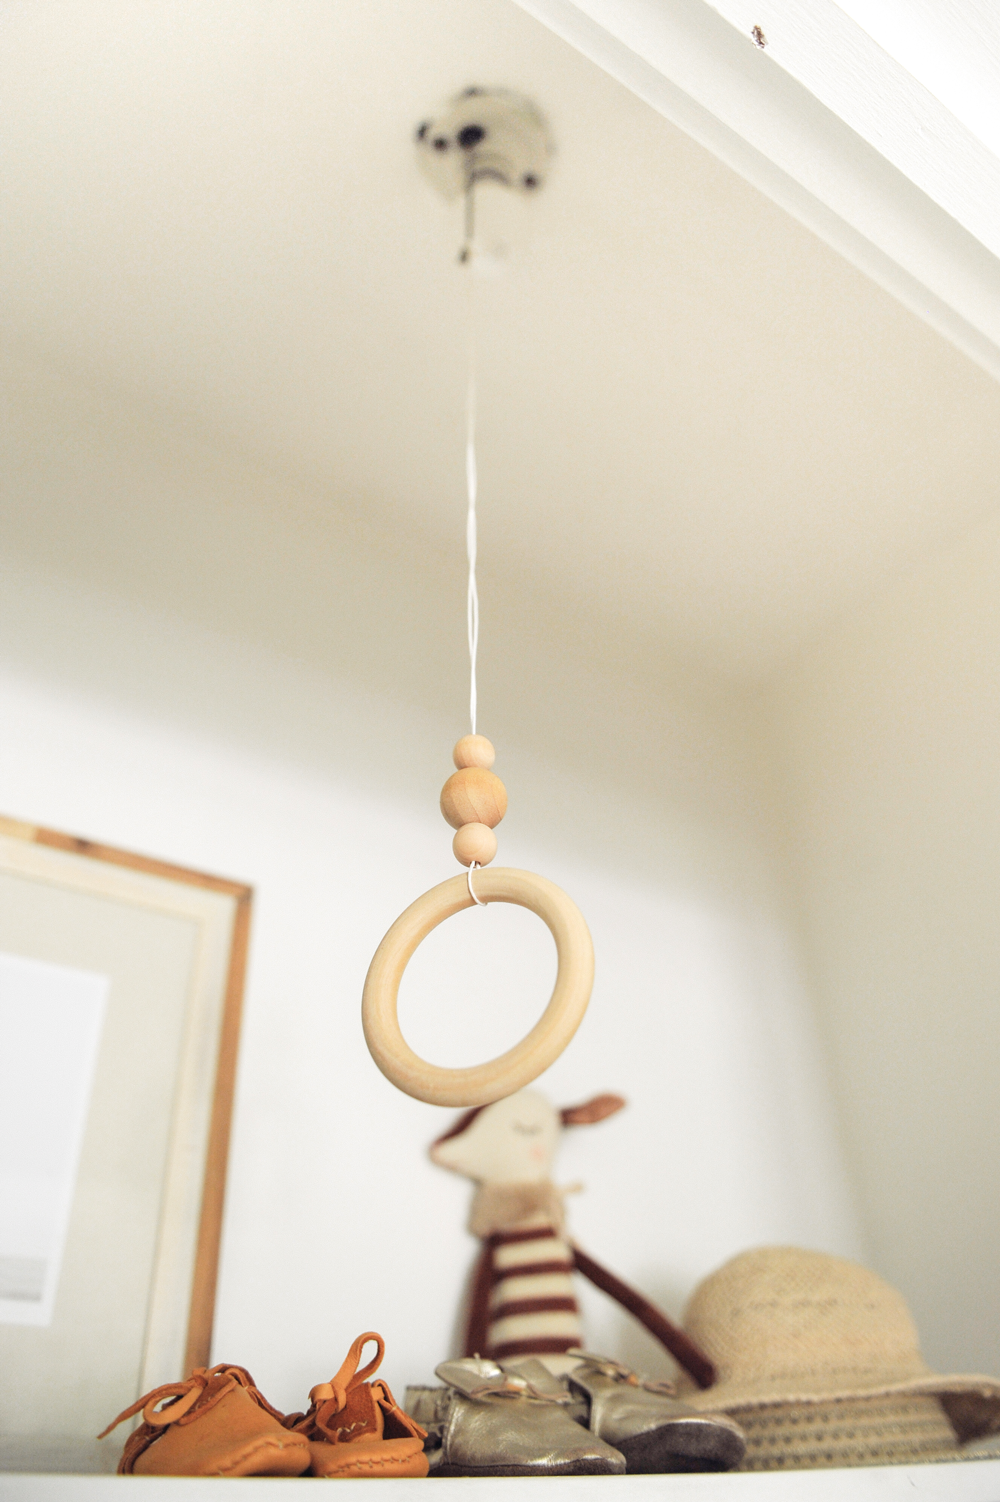
05. Hang it! You can kind of see in the photo below, but I have a white hard-wired ceiling socket with a chain coming down for the bulb. I just tied the white string tightly around the end of the pull chain.
06. Once you have it attached as tightly as you can, trim the ends.
I left my drawer pulls unfinished because I like the look, but you can paint, stain, polyurethane or treat them with mineral oil for a different (and probably more durable) look. I'd love it if you would share any variations you create!


No comments:
Post a Comment